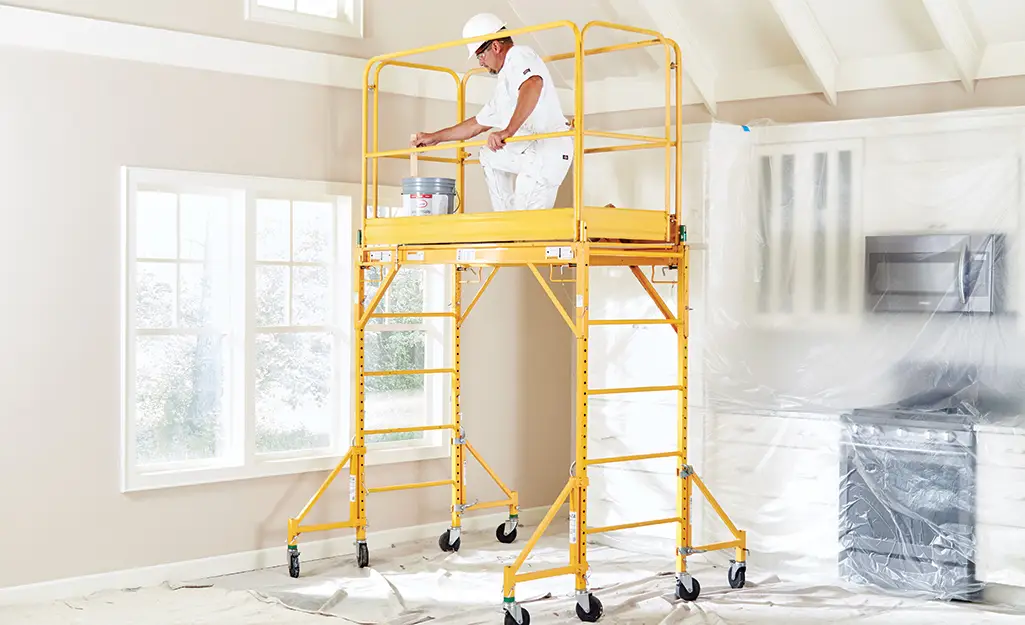
A Luxury & Professional Project From Start To Finish
Phase 1 – Protecting The Area
Identify areas receiving the application.
Protect all areas not receiving the application.
Windows and trim are masked off with 1-inch painter’s tape and covered with plastic sheeting.
Cabinets are taped off and covered.
Flooring is covered with a plastic sheeting and taped as close to the wall as possible.
Phase 2 – Planning and Preparation
Removal of items.
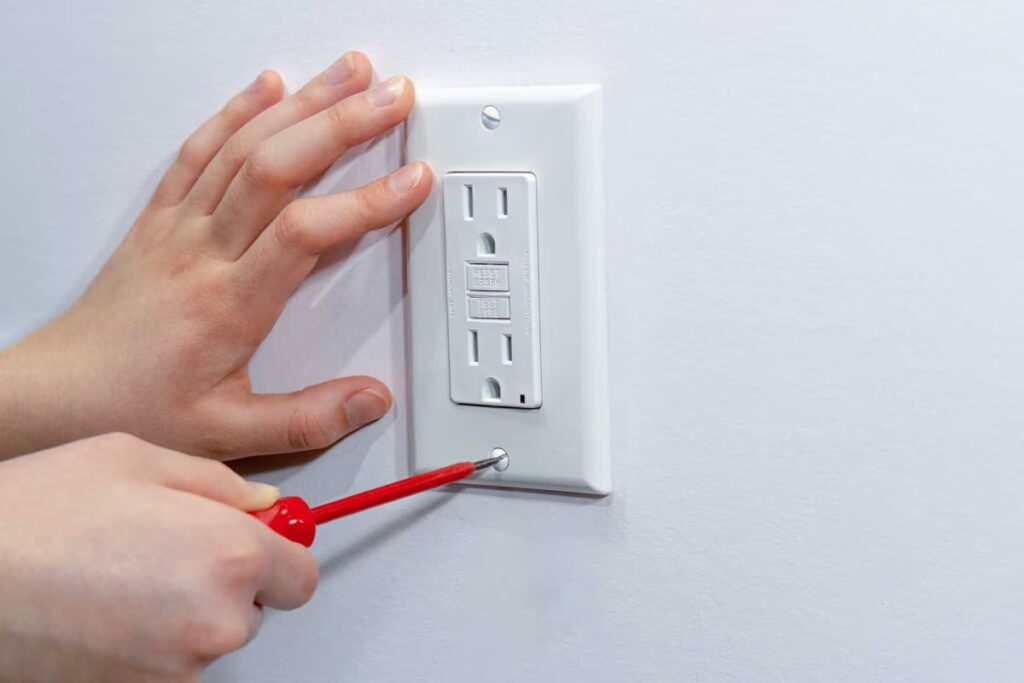
Remove fixtures, switch covers, and outlet covers.
Any fixture covering a portion of a surface to receive application will be removed.
Removing these items prevents paint and other sealants from getting on them. It also allows you to paint behind the covers, leaving a clean look.
Surface preparation.
All surfaces receiving an application will be thoroughly cleaned, addressing any dirt, grime, mildew, or loose paint, and ensuring proper adhesion of the material.
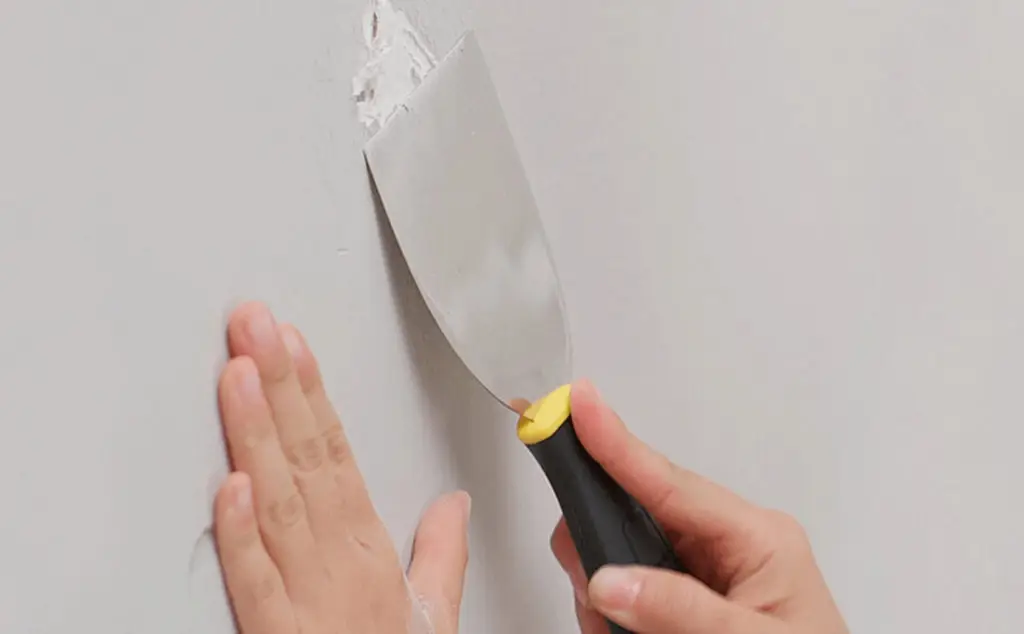
Repair imperfections.
Patching
Filling nail holes and cracks with spackle or patching compound.
Sanding
Sanding ensures paint adheres properly and creates a smooth, attractive finish. Fine-grit sanding prevents cracking or flaking, followed by wiping, drying, and vacuuming to remove dust and debris.
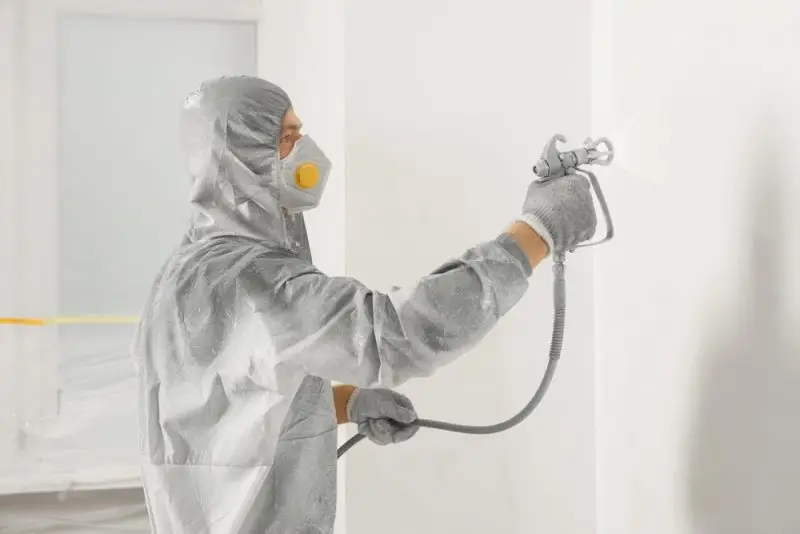
Phase 3 – Prime the Surface
Walls & Ceilings.
Latex PVA (polyvinyl acetate) wall primer is applied with a spray and back-rolled application, beginning with a “cutting in” technique, creating an outline of the walls with primer.
Apply the primer, painting in vertical strips, going from top to bottom.
Finish off by lightly sanding with fine-grit sandpaper, leaving the surface smoother for painting.
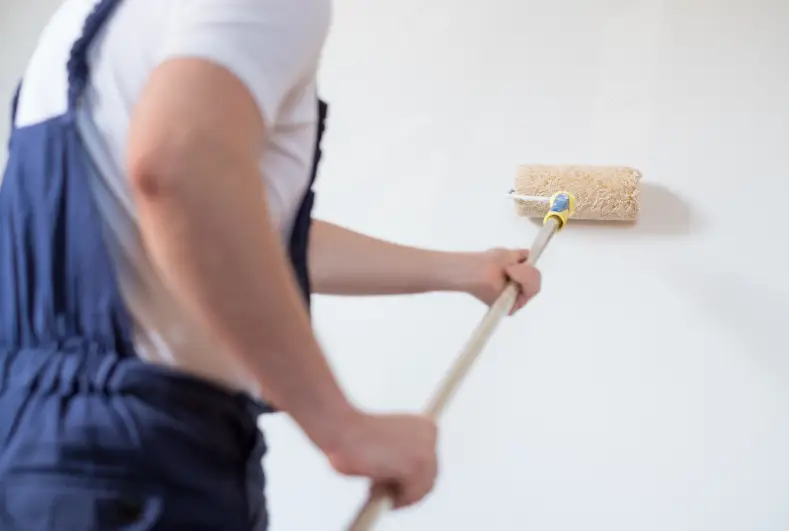
Phase 4 – Paint Application
Walls
Paint finishes are sprayed and back rolled with a PROMAR 400 Interior Latex Low-Sheen Eg-Shell Enamel.
Ceilings
Receive Benjamin Moore Waterborne Ceiling Paint in Ultra Flat Finish.
Trim
Finishes…. NEED MORE HERE….
*To Note
All areas receiving paint are cleaned thoroughly before receiving the final finish coat.
Phase 5 – Cleaning & Replacement
Cleaning
Clothes and soles of shoes are constantly checked for paint so as not to track anywhere in the home.
All work areas are cleaned of tape, sheeting, and drop clothes, wiped down, and vacuumed.
Replacement
All fixtures, switches, and light covers are returned to their original location.
Phase 6 – Final Inspection
Project manager inspects the finished work.
Inspections are not held to the end of a project, specifically. We are continuously inspecting throughout the project to ensure every step is completed perfectly. This makes for a seamless final inspection.